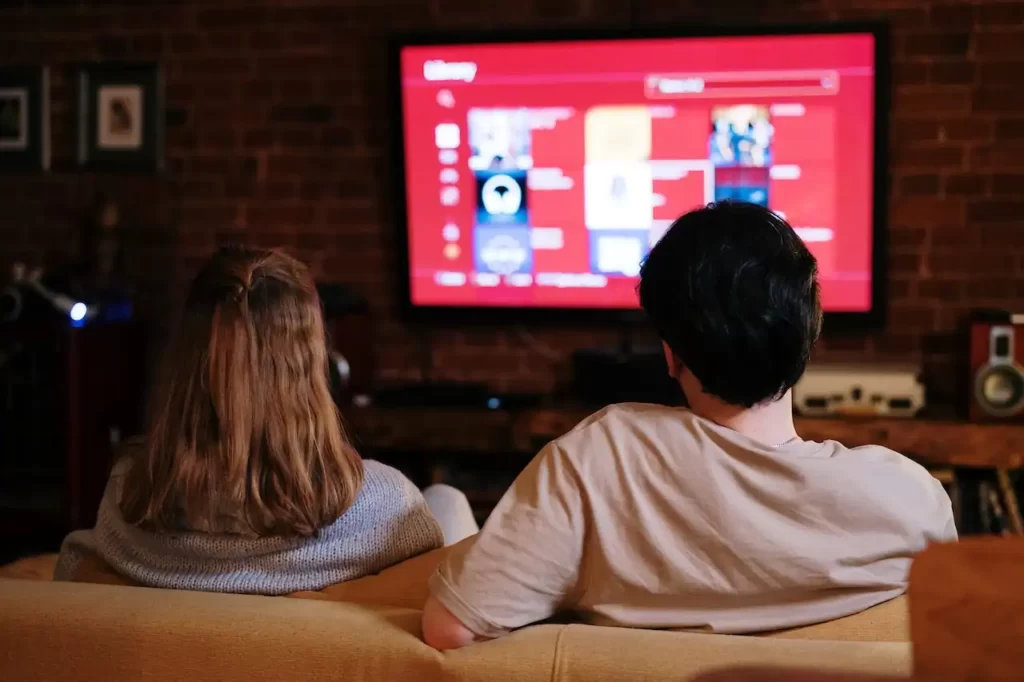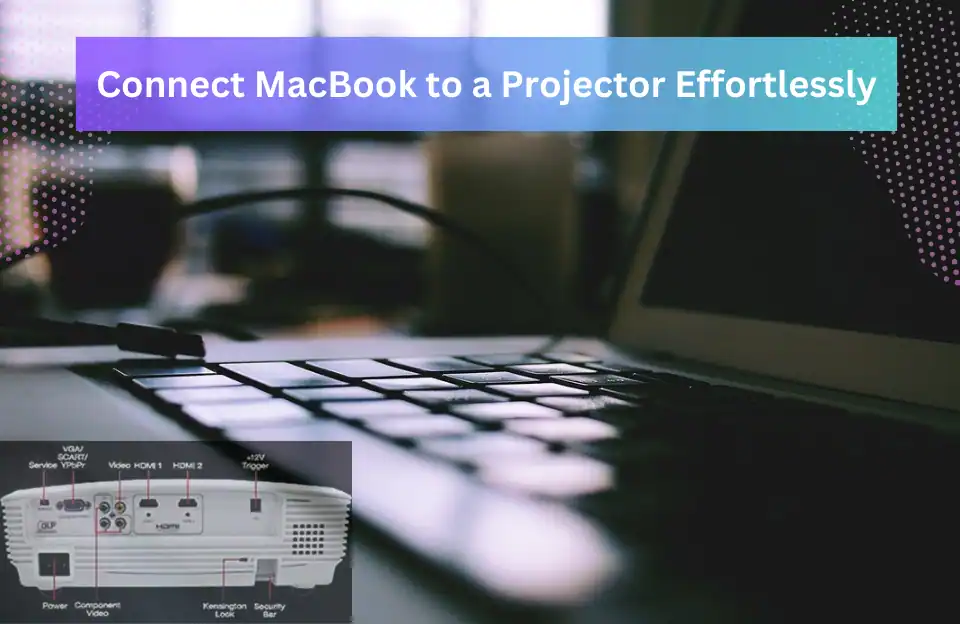
Connecting your MacBook to a projector can seem daunting, isn’t it? Don’t worry, it’s a straightforward process once you understand the steps given in this guide on “Connect MacBook to a Projector”.
Yes, it’s true that whether you’re preparing for a business presentation, an educational lecture, or a movie night at home, knowing how to connect your MacBook to a projector effortlessly will save you time and stress.
First: Get an understanding of Your Equipment
Before you start, it’s essential to understand the types of ports available on your MacBook and the projector.
MacBooks typically come with various ports, such as HDMI, USB-C, and Thunderbolt.
Projectors, on the other hand, might have HDMI, VGA, or DVI ports. Knowing the ports you have will determine the adapters and cables you need.
Adapter/Cable: Depending on your MacBook model, you might need a USB-C to HDMI or VGA adapter, or a Mini DisplayPort to HDMI/VGA adapter.
Preparing Your MacBook
First, ensure your MacBook is running the latest version of macOS to connect MacBook to a Projector seamlessly. This also helps prevent compatibility issues.
Go to >>
System Preferences > Software Update to check for updates.
Next, adjust your display settings by navigating to >>
System Preferences > Displays. Here, you can configure resolution and other display settings.
Selecting the Right Adapter

Depending on your MacBook and projector ports, you might need an adapter:
- HDMI Adapters: Most modern projectors and MacBooks use HDMI, offering high-quality video and audio.
- VGA Adapters: Older projectors might use VGA. Note that VGA does not support audio.
- USB-C Adapters: For newer MacBooks, a USB-C to HDMI or VGA adapter is commonly needed.
- Thunderbolt Adapters: Thunderbolt ports can also be used with the appropriate adapters.
How to Connect MacBook to a Projector
Step-by-Step Guide to Connect MacBook to Projector:
Step 1: Identify Your MacBook’s Output Port
Different MacBook models come with different output ports:
- USB-C: Common in newer models like MacBook Pro (2016 and later) and MacBook Air (2018 and later).
- Mini DisplayPort/Thunderbolt: Found in older MacBook Pro and MacBook Air models.
- HDMI: Available in some MacBook Pro models.
Step 2: Choose the Right Adapter
Depending on your MacBook’s output port and the projector’s input port, select the appropriate adapter or cable:
- USB-C to HDMI/VGA Adapter: For newer MacBooks.
- Mini DisplayPort to HDMI/VGA Adapter: For older models.
Step 3: Connect the Adapter to Your MacBook
Plug the adapter into your MacBook’s output port. Ensure it is securely connected.
Step 4: Connect the Cable to the Projector
Attach one end of the HDMI or VGA cable to the adapter and the other end to the projector. Ensure both connections are secure.
Step 5: Power On the Projector
Turn on the projector and select the correct input source (HDMI or VGA) using the projector’s remote or control panel.
Step 6: Configure Display Settings on Your MacBook
Once connected, your MacBook should automatically detect the projector. If it doesn’t, follow these steps:
- Click on the Apple menu and select System Preferences.
- Choose Displays.
- Click on the Arrangement tab.
- Check the Mirror Displays box if you want the same image on both screens, or uncheck it to extend your desktop.
Troubleshooting Common Issues
Issue 1: No Signal Detected
- Ensure all connections are secure.
- Verify that the projector is on the correct input source.
- Restart both your MacBook and the projector.
Issue 2: Display is Flickering
- Check the cable for any damage.
- Try using a different adapter or cable.
- Adjust the resolution settings in System Preferences > Displays.
Issue 3: No Sound from Projector
- Ensure the projector supports audio output through HDMI.
- Go to System Preferences > Sound, and select the projector as the output device.
Issue 4: Flickering Screen
- Check the cable connections and try a different cable if necessary.
Issue 5: Compatibility Problems
- Update all relevant software and firmware, and check for any known compatibility issues online.
Using Wireless Methods
Wireless connections can simplify the process:
- AirPlay: If the projector supports AirPlay, you can mirror your MacBook wirelessly.
- Third-party Wireless Adapters: Devices like Apple TV or Chromecast can facilitate wireless connections.
- Pros and Cons: Wireless setups reduce cable clutter but might introduce latency or connectivity issues.
Optimizing Presentation Settings
For a smooth presentation:
- Adjust Brightness and Contrast: Ensure the projector settings are optimized for the room lighting.
- Presenter View: Use Presenter View in PowerPoint or Keynote to see your notes while the audience sees the slides.
Maintaining Your Connection
Regular maintenance ensures a reliable connection:
- Software Updates: Keep your MacBook and projector firmware updated.
- Cable and Adapter Care: Regularly check for wear and replace any damaged cables or adapters.
Advanced Tips and Tricks
- Using Multiple Projectors: Some advanced setups may involve connecting multiple projectors. Use a splitter or AV receiver for this purpose.
- AV Receiver Connections: An AV receiver can manage multiple inputs and outputs, providing greater flexibility.
- Display Calibration Tools: Use tools like DisplayCal to ensure color accuracy and display quality.
Recommended:
- How to Connect Android Phone to Projector via HDMI Cable?
- How to Connect iPad to Projector (Step-By-Step) Guide
- How to Troubleshoot Shadow on a Projector?
- What are Projector Dead Pixels?
- Can You Use a Projector as Second Monitor?
Connect MacBook to a Projector: ~ [FAQs]
What should I do if my MacBook doesn’t recognize the projector?
If your MacBook doesn’t recognize the projector, check all connections and ensure both devices are powered on. Try restarting both devices and check the display settings on your MacBook.
Can I connect my MacBook to a projector wirelessly?
Yes, you can use devices like Apple TV or apps like AirParrot to connect your MacBook to a projector wirelessly.
What is the best resolution for projecting from a MacBook?
The best resolution depends on your projector’s native resolution. Match your MacBook’s resolution to the projector for the best quality.
How do I get sound from the projector when connected to my MacBook?
Ensure the projector is selected as the output device in System Preferences > Sound. Also, check the volume settings on both the MacBook and the projector.
Are there any specific projector brands recommended for use with MacBooks?
Most major brands like Epson, BenQ, and Sony are compatible with MacBooks. Always check the compatibility details in the projector’s manual for specific guidance.
The Bottom Line
Connecting your MacBook at first may be a bit difficult but by understanding your equipment, choosing the right adapters, and following the steps outlined in this guide, you’ll ensure a seamless connection.
You can Practice these steps more, and soon, you’ll be connecting your MacBook to a projector with confidence and ease. Thanks for reading!
As an experienced Software Engineer in a Projection-Based Technology Company, I love sharing my Knowledge to utilize and help others to learn more about Projectors. Thus one can get the right Projector for their needs.