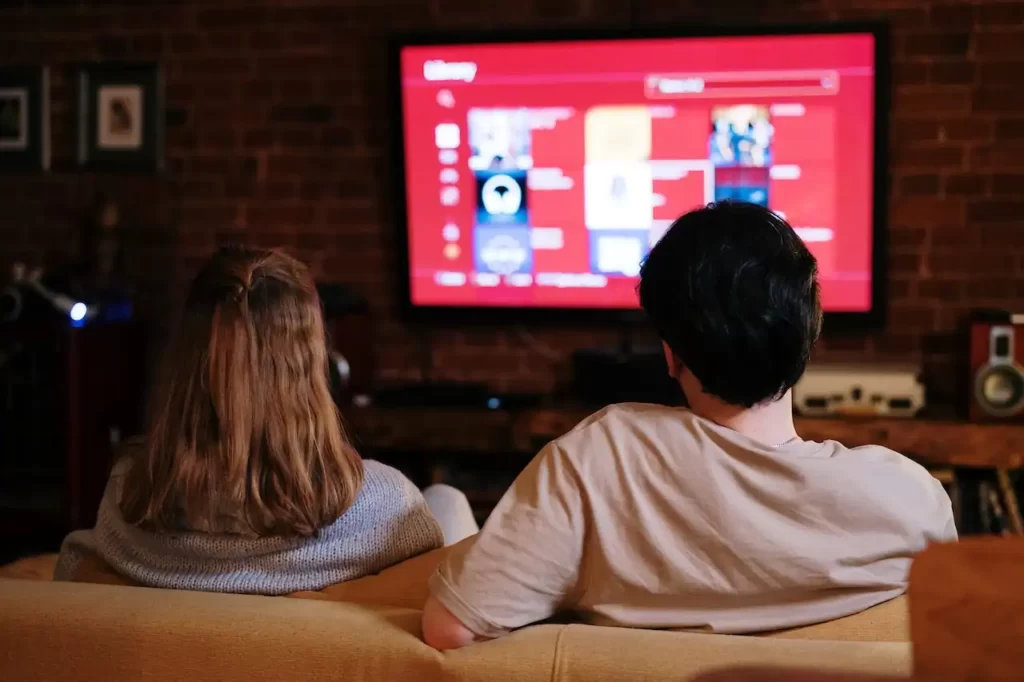
Are you looking to transform your basement into a home theater or entertainment space? One of the key elements you’ll need is a projector. A Projector in basement can provide an immersive cinematic experience right in the comfort of your own home.
With a large projection screen, you can enjoy movies, TV shows, and sports events on a grand scale. In this comprehensive article, we will explore some exciting basement projector ideas that you can consider to enhance your entertainment setup.
We will also discuss important factors to consider before installation, provide step-by-step guidance on setting up a projector, and offer tips to enhance your basement projector experience.
Benefits of Having a Projector in Basement

Basements often provide an ideal space for creating a dedicated home theater. With their secluded nature and limited natural light, basements offer the perfect environment for a projector setup. Below are some benefits of having a Projector in Basement given:
Enhanced Viewing Experience
A projector allows you to enjoy movies, TV shows, and sports events on a large screen, providing a more immersive experience compared to traditional TVs. The larger display size brings your favorite content to life, making you feel like you’re part of the action.
Cost-Effective Solution
Projectors offer a cost-effective alternative to large-screen TVs. With projectors becoming more affordable, you can achieve a massive screen size at a fraction of the cost of a similarly sized TV. This makes projectors an attractive option for those on a budget.
Space Optimization
Basements often provide ample space, making them ideal for setting up a dedicated home theater or entertainment area. Unlike traditional TVs, projectors don’t require significant floor space. By mounting the projector on the ceiling and using a retractable screen, you can maximize the usable area in your basement and create a clutter-free environment.
Versatility for Multiple Purposes
A basement equipped with a projector offers versatility for various activities. In addition to watching movies and TV shows, you can transform your basement into a gaming hub or host sports viewing parties.
The large projection screen brings video games to life, providing an immersive gaming experience. Furthermore, projectors offer flexibility for presentations, educational purposes, and even virtual workouts, allowing you to make the most of your basement space.
DIY vs. Professional Installation

Deciding whether to opt for a DIY installation or hire professionals depends on your skills, budget, and time availability. While a DIY installation can be cost-effective, professional installers ensure proper calibration, wiring, and set up for optimal performance. Evaluate your requirements and capabilities before making a decision.
Recommended:
- Learn How To Hang A Projector Screen Like A Pro!
- Best ALR Projector Screen: What You Need to Know
- Best Long Throw Projectors In Full HD And 4K
- Best Projector For Bright Rooms
Choosing the Right Projector
Selecting the right projector is crucial for achieving optimal performance in your basement home theater. Therefore, we’ve provided some key considerations below to follow when choosing the right projector:
Lumens and Contrast Ratio
The lumens rating determines the brightness of the projector. For a Projector in basement setup, where you have more control over ambient light, a projector with a lower lumens rating may be sufficient. However, if your basement receives significant ambient light, opt for a projector with a higher lumens rating for better image visibility.
The contrast ratio denotes the difference between the darkest and brightest parts of an image. A higher contrast ratio results in more vibrant and detailed visuals, enhancing your viewing experience.
Resolution
Resolution refers to the number of pixels a projector can display. Opt for a projector with at least Full HD (1920×1080) resolution for sharp and detailed images. If you’re a fan of 4K content, consider investing in a 4K projector to fully immerse yourself in the high-resolution visuals.
Connectivity Options
Ensure that the projector you choose offers a variety of connectivity options, such as HDMI, USB, and VGA ports. This will allow you to connect various devices like Blu-ray players, gaming consoles, and streaming devices to your projector, expanding your entertainment possibilities.
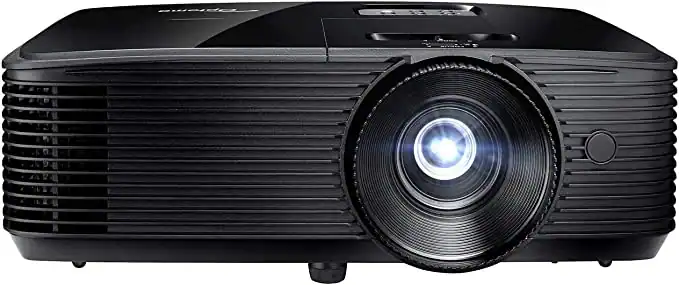
Some Recommended Projectors Model (FHD & 4K)
Factors to Consider Before Installing a Projector

Before diving into the installation process, consider the following factors to ensure optimal performance and satisfaction with your Projector in basement setup.
Basement Lighting
Lighting conditions play a crucial role in projector performance. Basements typically have minimal natural light, making them an ideal environment for projectors. However, it’s important to control ambient light sources to avoid image washout or reduced contrast. Consider using blackout curtains, window coverings, or dimmable lights to create a dark viewing environment.
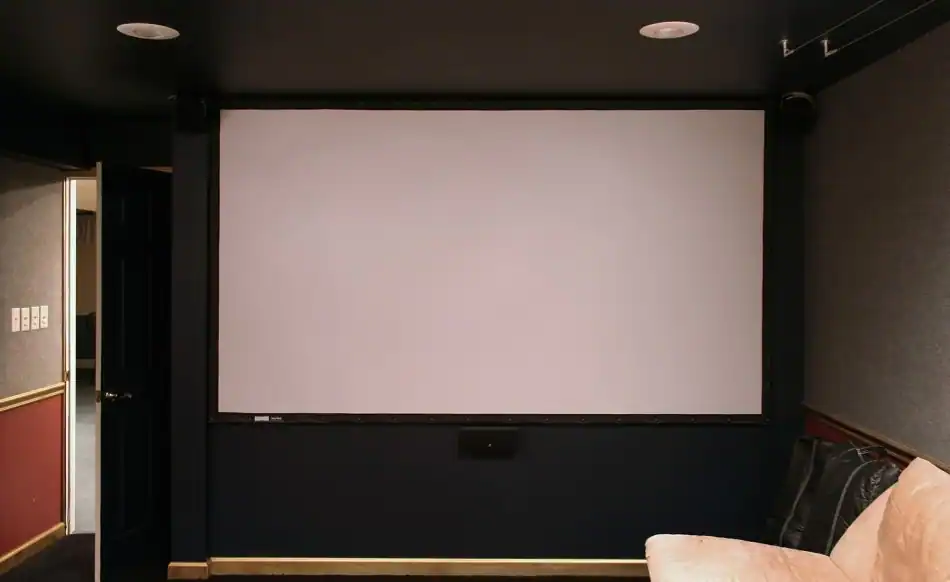
Screen Size and Aspect Ratio
Determine the desired screen size and aspect ratio based on your basement’s dimensions and seating arrangement. Measure the available wall space to select an appropriate screen size that ensures comfortable viewing from different seating positions. Consider the aspect ratio (e.g., 16:9 or 2.35:1) based on your preferred content and viewing preferences.
Related: 4:3 vs 16:9 Projector Screen: A Guide on Projector Aspect Ratio
Sound System
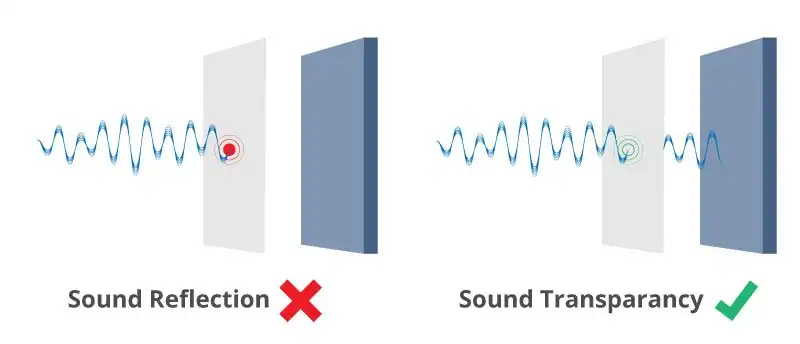
To complement the visuals, invest in a high-quality sound system for immersive audio. Consider installing speakers around the basement or opt for a soundbar that enhances the movie theater experience. Evaluate the acoustic properties of your basement and explore soundproofing options to minimize audio reflections and external noise interference.
Projector Placement
Choosing the right location for your projector is crucial. Take into account the throw distance and the projector’s throw ratio to determine the optimal placement. Ensure the projector is properly aligned with the projection screen and positioned at an appropriate height to prevent distortion or image misalignment.
Setting Up a Projector in the Basement
Now that you have considered the essential factors, let’s explore the step-by-step process of setting up a projector in your basement.

Preparing the Basement Space
Clear the basement area and remove any obstructions that could interfere with the projection. Clean the walls to ensure a smooth surface for the projection. If necessary, consider painting the wall with a specialized projector screen paint or install a dedicated projection screen for optimal image quality.
Installing the Projector and Screen
Mount the projector securely to avoid vibrations or movement that can affect image stability. Position the projector at the right distance from the screen to achieve the desired image size. Refer to the manufacturer’s guidelines for the optimal projection distance.
Set up the projection screen according to the manufacturer’s guidelines, ensuring it is properly tensioned and aligned.
Connecting Audio and Video Sources
Connect your video sources, such as Blu-ray players, gaming consoles, or streaming devices, to the projector using HDMI or other compatible cables. Connect the audio sources to your chosen sound system. Ensure all connections are secure and test the setup to verify the audio and video output.
Adjusting Keystone and Lens Shift
Keystone correction helps eliminate distorted images caused by the projector’s angle in relation to the screen. Most projectors offer digital keystone correction, but it’s best to position the projector at eye level to minimize distortion. Lens shift allows you to adjust the image vertically or horizontally without physically moving the projector.
Optimizing the Viewing Experience

To enhance your basement projector experience, consider the following factors:
Ambient Light Control
Minimize ambient light in your basement to improve image quality. Install blackout curtains or blinds to block external light sources. Paint the walls in darker shades to prevent light reflections that can wash out the projected image.
Seating and Layout
Arrange the seating in your basement theater to optimize the viewing experience. Position the seating at an appropriate distance from the screen, ensuring that everyone has a clear view. Consider using comfortable seating options like recliners or a sectional sofa for a cozy atmosphere.
Acoustic Treatment
Basements tend to have poor acoustic properties due to their concrete walls and flooring. Improve the sound quality by adding acoustic panels or soundproofing materials to minimize echo and reverberation. Thus you can get a more immersive audio experience.
Audio Considerations
A high-quality audio system is essential for a complete home theater experience. Consider the following when setting up the audio for your basement projector:
Surround Sound System
Invest in a surround sound system to create an immersive audio environment. You should Position the speakers in such a way that it can distribute the sound at an optimal level. A typical setup includes front speakers, rear speakers, a center channel speaker, and a subwoofer.
Receiver and Amplifier
A receiver acts as the central hub for audio and video signals, allowing you to connect multiple devices to your audio system. Choose a receiver that supports the necessary audio formats and has sufficient power to drive your speakers.
Sound Calibration
Calibrate your audio system using an automatic speaker calibration tool or manual adjustments. This ensures balanced sound output and accurate localization of audio effects.
Connecting External Devices
To expand your entertainment options, connect external devices to your basement projector system:
Blu-ray/DVD Players
Connect a Blu-ray or DVD player to enjoy high-definition movies with exceptional picture quality.
Gaming Consoles

Connect gaming consoles to immerse yourself in the world of gaming on a larger screen. Experience your favorite games with enhanced visuals and more engaging gameplay.
Related: How To Connect Nintendo Switch To Projector?
Streaming Devices

Connect streaming devices like Apple TV, Roku, or Chromecast to access a wide range of streaming services and enjoy your favorite TV shows and movies from popular platforms.
Related: How to Watch TV on Projector without a Cable Box?
Maintenance and Troubleshooting
To ensure the longevity of your basement projector and optimize its performance, follow these maintenance tips:
Cleaning the Projector and Screen
Regularly clean the projector lens, air vents, and filters to prevent dust buildup that can affect image quality and cause overheating. Use a soft, lint-free cloth and projector-safe cleaning solutions as recommended by the manufacturer. Clean the projection screen with a microfiber cloth or screen-cleaning kit to remove fingerprints or smudges.
Regular Lamp Replacement
Projector lamps have a limited lifespan, and their brightness diminishes over time. Monitor the lamp usage hours and replace it when necessary. Follow the manufacturer’s guidelines for lamp replacement, ensuring the projector is turned off and properly cooled before handling the lamp.
Related: How Long Do Projector Lamps Last? Preventions To Extend Lifespan!
Proper Ventilation and Cooling
Ensure adequate ventilation and airflow around the projector to prevent overheating. Avoid placing the projector in enclosed spaces or near heat sources. If necessary, use additional cooling solutions, such as fans or ventilation systems, to maintain optimal operating temperatures.
Protecting the Equipment
Keep the projector and its accessories safe from potential damage. Store the projector in a dust-free environment when not in use and protect it from moisture or extreme temperatures. Consider investing in a projector case or cover for added protection during transportation or storage.
Troubleshooting Common Issues
Familiarize yourself with common projector issues and their solutions. This includes problems like distorted images, color inaccuracies, or connectivity issues. Troubleshooting these problems can save you time and ensure uninterrupted enjoyment.
Tips for Enhancing the Basement Projector Experience
Consider the following tips to take your basement projector experience to the next level:
- Install soundproofing materials to reduce noise interference from the rest of the house.
- Add comfortable seating options like bean bags or recliners for a cozy and relaxed atmosphere.
- Incorporate dimmable lighting to create a cinema-like ambiance during movie nights.
- Experiment with different aspect ratios to find the one that suits your content and preferences best.
- Invest in a quality universal remote control to simplify the operation and control of your entire home theater system.
Frequently Asked Questions [FAQs]

Can I install a projector in any basement?
Yes, projectors can be installed in most basements. Ensure proper lighting control and consider factors such as screen size and aspect ratio to maximize the viewing experience.
How much does a basement projector setup cost?
The cost of a basement projector setup varies depending on factors like the projector model, screen size, audio system, and additional accessories. So the basement projector setup cost can range from a few hundred to several thousand dollars.
Can I use a basement projector during the day?
Yes, you can use a basement projector during the day, however, controlling ambient lighting becomes more critical to achieving optimal image quality.
Do I need a professional to install a basement projector?
While it’s possible to install a basement projector yourself, consulting a professional can ensure proper placement, wiring, and calibration for optimal performance.
Can I use a basement projector for gaming?
Absolutely! A basement projector provides an immersive gaming experience. Ensure low input lag and consider the screen size and resolution suitable for gaming.
What are the recommended lumens for a basement projector?
The recommended lumens for a basement projector depend on the ambient light conditions. For darker basements, 1500-2000 lumens should suffice, while brighter basements may require higher lumens for better visibility.
How do I connect my media devices to the basement projector?
Most projectors offer various connectivity options such as HDMI, VGA, and USB. Connect your media devices using the appropriate cables or wireless adapters.
Final Thoughts
Transforming your basement into a home theater is an exciting project that allows you to bring the movie theater experience to your doorstep. A key component of any home theater setup is a high-quality projector that delivers crisp and vibrant visuals.
By carefully selecting the right projector, optimizing the setup, and considering various factors mentioned in this guide, you can transform your basement into a captivating cinema experience.
So, start planning your basement projector project and enjoy endless movie nights and immersive gaming sessions in the comfort of your own home. Thanks For Reading!
As an experienced Software Engineer in a Projection-Based Technology Company, I love sharing my Knowledge to utilize and help others to learn more about Projectors. Thus one can get the right Projector for their needs.