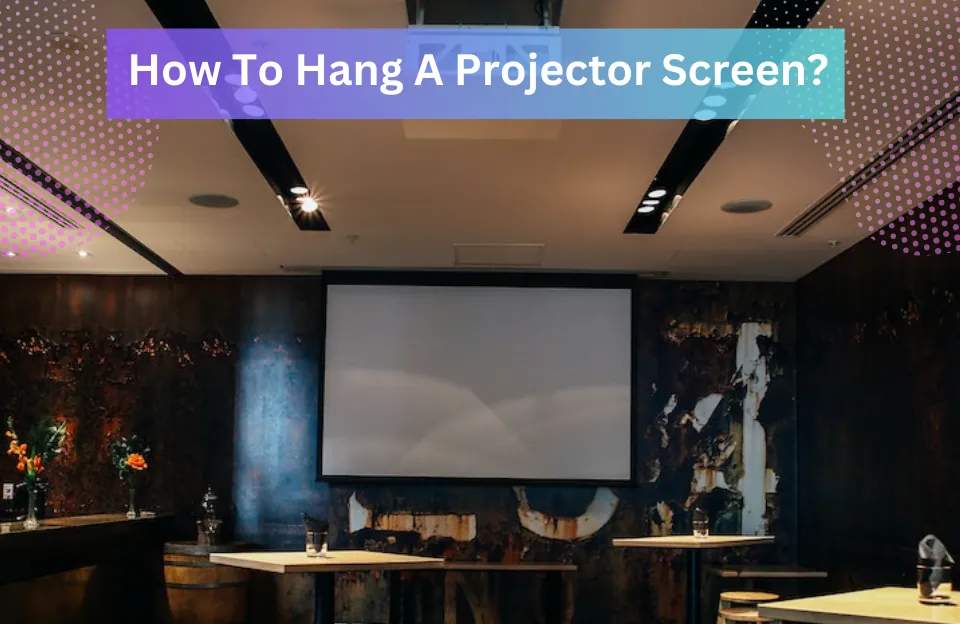
Are you excited about setting up your own home theater and enjoying the immersive experience of watching movies on a big screen? Hanging a projector screen properly is crucial to achieving optimal image quality and creating a captivating viewing environment.
In this step-by-step guide, we will walk you through the process of hanging a projector screen in your desired location. Thus it will ensure optimal viewing and a cinematic experience right in the comfort of your own home.
Therefore, if you are a beginner or an experienced DIY enthusiast, this article will provide you with all the information you need to ensure a seamless installation. So Let’s get started!
Necessary Tools and Materials: The List
Before you begin, make sure you have all the required tools and materials on hand. Below is a list of what you’ll need:
- Projector screen
- Mounting brackets or ceiling mount
- Stud finder
- Level
- Measuring tape
- Pencil or marker
- Screwdriver or drill
- Screws and anchors
- Cable management solutions (optional)
- Projector (if not already installed)
Having everything ready before you start will save you time and make the installation process smoother.
See More: Projector In Basement: Turn Your Basement into a Home Theater Haven
Top Quality Projector Screens (with or without stand):
How to Hang a Projector Screen Like a Pro: (2024 Step-by-Step Guide)

Projector screens are an excellent addition to any space where you want to enjoy a large, high-quality display. Whether it’s for your home theater, conference room, or classroom, setting up a projector screen correctly is crucial to ensure optimal image quality and viewing experience. By following the steps outlined below, you’ll be able to hang your projector screen like a professional.
#1. Choose the Perfect Location
Selecting the right location for your projector screen is vital for an enjoyable viewing experience. Consider the following factors:
- Room size and layout
- Viewing distance
- Ambient light conditions
- Acoustics
- Wall space availability
Especially Below:
- Room lighting: Opt for a room with controlled lighting to minimize glare on the screen.
- Wall space: Ensure that the wall has enough space to accommodate the screen size you desire.
- Viewing angle: Position the screen in a way that allows for comfortable viewing from various seating positions.
Take your time to evaluate different areas and choose the one that offers the best combination of these factors.
#2. Determine the Mounting Method
Next, decide on the mounting method for your projector screen. There are various options available, including wall mounting and ceiling mounting. Consider the room layout, screen size, and personal preference when making this decision.
Ceiling mounting is often preferred for larger screens or rooms with limited wall space. Wall mounting is suitable for smaller screens or rooms with specific viewing requirements. Whichever method you choose, ensure it provides a sturdy and stable support system for the screen.
#3. Measuring and Marking the Wall

Now, you will need to measure the wall, after that mark the mounting points on the wall. Start by determining the desired height of the screen. Here remember to leave enough space below the screen for speakers, furniture, or other equipment. Use a spirit level to ensure that the marks are straight and level.
#4. Install the Mounting Brackets
Depending on the type of projector screen you have, you may need to assemble a mount. Follow the manufacturer’s instructions to assemble the mount properly. This step usually involves attaching brackets and other components that will hold the screen securely in place.
#5. Attach the Screen to the Brackets
Carefully hang the projector screen onto the mounted bracket. Most projector screens come with hooks or tabs that easily slide into the brackets.
Follow the manufacturer’s instructions to ensure a secure attachment. Once the screen is in place, double-check its alignment and make any necessary adjustments.
Recommended:
- How To Clean A Projector Screen (Top Secrets Revealed!)
- 4:3 vs 16:9 Projector Screen: A Guide on Projector Aspect Ratio
- Best ALR Projector Screen: What You Need to Know
- Black Projector Screen Vs White-Which should I use?
- Projector Paint vs Screen: Which One is more suitable for your room?
- Learn How To Mount A Projector To A Drop Ceiling!
#6. Adjust the Screen for Optimal Viewing
To achieve a smooth and wrinkle-free surface, adjust the tension of the screen. This step is crucial for optimal image quality. Refer to the manufacturer’s instructions on how to adjust the tension properly. It may involve using tensioning mechanisms or tightening screws to achieve the desired level of tautness.
To enhance your viewing experience further, consider optimizing the audio and seating arrangement. Position the speakers strategically for optimal sound quality and create a comfortable seating area with proper viewing angles. Experiment with different seating positions to find the sweet spot for immersive entertainment.
#7. Conceal Wires and Cables
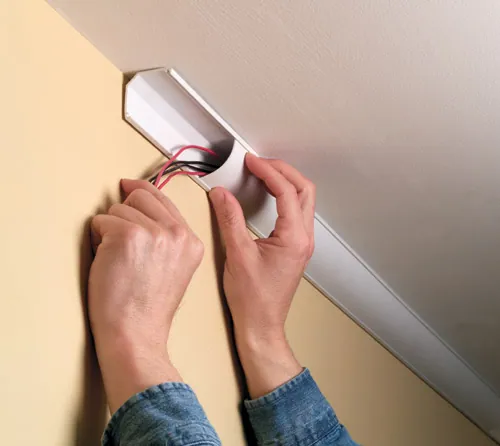
To maintain a clean and professional look, consider concealing the wires connected to the projector and other devices. Use cable management solutions such as wire channels, cable raceways, or in-wall conduit systems. This will not only improve the aesthetics of your setup but also reduce the risk of tripping hazards.
#8. Test and Calibrate the Projector
Now that the screen is in place and properly tensioned, it’s time to make any final adjustments. Check for any misalignment or leveling issues and make the necessary corrections.
Ensure that the screen is at the optimal height and distance from the projector for the best viewing experience. And, once everything is set, connect your projector and test the image quality to ensure it meets your expectations.
#9. Maintenance and Care Tips for Your Projector Screen
To ensure the longevity and performance of your projector screen, follow these maintenance tips:
- Regularly clean the screen using a soft cloth or a screen-cleaning solution.
- Avoid touching the screen surface with sharp objects or rough materials.
- Store the screen in a clean and dry environment when not in use.
- Check and tighten the screen bracket periodically to prevent any loosening.
How To Mount A Projector Screen Without Drilling?
Are you eager to enjoy the immersive experience of a projector screen but hesitant to drill holes into your walls? Don’t worry, because, in this section, we will guide you through the process of mounting a projector screen without drilling.
If you prefer not to make permanent modifications to your walls, there are alternative methods that allow you to set up your projector screen securely and conveniently. Let’s explore these options step by step.
#1. Adhesive Hooks Method
One of the simplest and non-invasive ways to mount a projector screen is by using adhesive hooks. Follow these steps:
Step 1: Choose the Right Hooks
Look for adhesive hooks that are designed to hold a significant amount of weight. Ensure they have a smooth surface to prevent any damage to the screen or wall.
Step 2: Clean the Surface
Clean the wall surface where you plan to place the hooks. Use rubbing alcohol or a mild cleaning solution to remove any dust or debris.
Step 3: Stick the Hooks
Remove the adhesive backing from the hooks and firmly press them against the wall. Apply pressure for a few seconds to ensure a secure bond.
Step 4: Attach the Screen
Depending on the design of your projector screen, you may need to attach hooks, loops, or rings to the top edge of the screen. Hang the screen on the adhesive hooks, making sure it is level and securely in place.
#2. Tension Rod Method
Another effective method for mounting a projector screen without drilling involves using tension rods. Here’s how you can do it:
Step 1: Measure the Space
Measure the width of the area where you want to mount the projector screen. Choose a tension rod that can expand to fit this measurement.
Step 2: Install the Tension Rod
Position the tension rod at the desired height and width on the wall. Twist the rod to tighten it securely in place. Ensure that the rod is level and stable.
Step 3: Hang the Screen
Similar to the previous method, attach hooks, loops, or rings to the top edge of the screen. Hang the screen on the tension rod, adjusting it as necessary to achieve the desired height and tension.
#3. Portable Tripod Stand Method
If you prefer a freestanding option, using a portable tripod stand is an excellent choice. Follow these steps:
Step 1: Choose a Sturdy Tripod Stand
Select a tripod stand that is specifically designed for projector screens. Look for one with adjustable height and a stable base.
Step 2: Set Up the Stand
Extend the legs of the tripod stand to the desired height. Ensure that the stand is stable and securely locked in position.
Step 3: Attach the Screen
Most tripod stands have mounting brackets or hooks at the top. Attach the hooks, loops, or rings of the screen to the stand, making sure it is secure and properly aligned.
#4. Ceiling Mount Method
For a more permanent solution that doesn’t require drilling into the walls, consider ceiling mounting your projector screen. Here’s what you need to do:
Step 1: Locate the Ceiling Studs
Using a stud finder, locate the ceiling studs in the area where you want to install the screen. Mark the positions of the studs for reference.
Step 2: Install the Mounting Brackets
Attach the mounting brackets to the ceiling using screws that are suitable for your ceiling type. Ensure that the brackets are level and aligned with the stud positions.
Step 3: Hang the Screen
Attach the hooks, loops, or rings of the screen to the mounting brackets. Make sure the screen is properly aligned and securely in place.
How to Hang a Projector Screen: FAQs

Can I mount a projector screen on any type of wall?
Yes, you can mount a projector screen on different types of walls. However, ensure that the wall is sturdy enough to support the weight of the screen and that you use the appropriate screws and anchors for secure installation.
Do I need professional help to hang a projector screen?
While it is possible to hang a projector screen on your own, seeking professional assistance can ensure a hassle-free and precise installation, especially if you’re not confident in your DIY skills.
What is the ideal height for hanging a projector screen?
The ideal height for hanging a projector screen is at eye level when seated. This ensures comfortable viewing without straining your neck or eyes.
Can I paint a wall instead of using a projector screen?
Yes, painting a wall with specially formulated projector screen paint can serve as an alternative to a physical screen. However, keep in mind that the paint’s quality and the wall’s texture can affect the image projection.
Can I hang a projector screen on a textured wall?
Yes, you can hang a projector screen on a textured wall. However, it’s important to ensure a smooth and even surface by using a filler compound or a separate backing board.
Can I install a motorized projector screen myself?
Yes, you can install a motorized projector screen yourself by following the manufacturer’s instructions carefully. It may require additional electrical work for power connections.
How do I clean a projector screen?
To clean a projector screen, use a soft cloth or a microfiber duster to gently remove dust and debris. You should consider avoiding using harsh or abrasive materials that could damage your screen’s surface.
Can I use a projector screen outdoors?
Yes, there are projector screens specifically designed for outdoor use. These screens are typically made of durable materials and have features that enhance visibility in outdoor environments.
Are adhesive hooks strong enough to hold a projector screen?
Yes, adhesive hooks designed for heavy-duty use can support the weight of a projector screen. Make sure to choose hooks that are specifically designed for heavier items.
Can I use a portable tripod stand outdoors?
Yes, portable tripod stands are versatile and can be used both indoors and outdoors. Ensure that the stand is stable and properly secured to prevent any accidents.
Is it possible to use multiple mounting methods simultaneously?
While it is technically possible to combine different mounting methods, it may not be necessary or practical. Choose a single method that best suits your needs to maintain simplicity and efficiency.
The Bottom Line
We’ve done with our article and hope you learned How to hang a Projector Screen like a Pro. However, hanging a projector screen may seem like a daunting task, but with the right guidance, it can be a straightforward process.
With the help of the step-by-step instructions provided in this guide, you can confidently set up your projector screen and create a remarkable viewing experience.
So, remember to choose the perfect location, use the appropriate mounting method, and make necessary adjustments for optimal viewing. Enjoy the immersive world of projection! Thanks For Reading!
Credits
- Feature Images by: Rachel Claire
- Photo by: Erik Mclean
As an experienced Software Engineer in a Projection-Based Technology Company, I love sharing my Knowledge to utilize and help others to learn more about Projectors. Thus one can get the right Projector for their needs.